

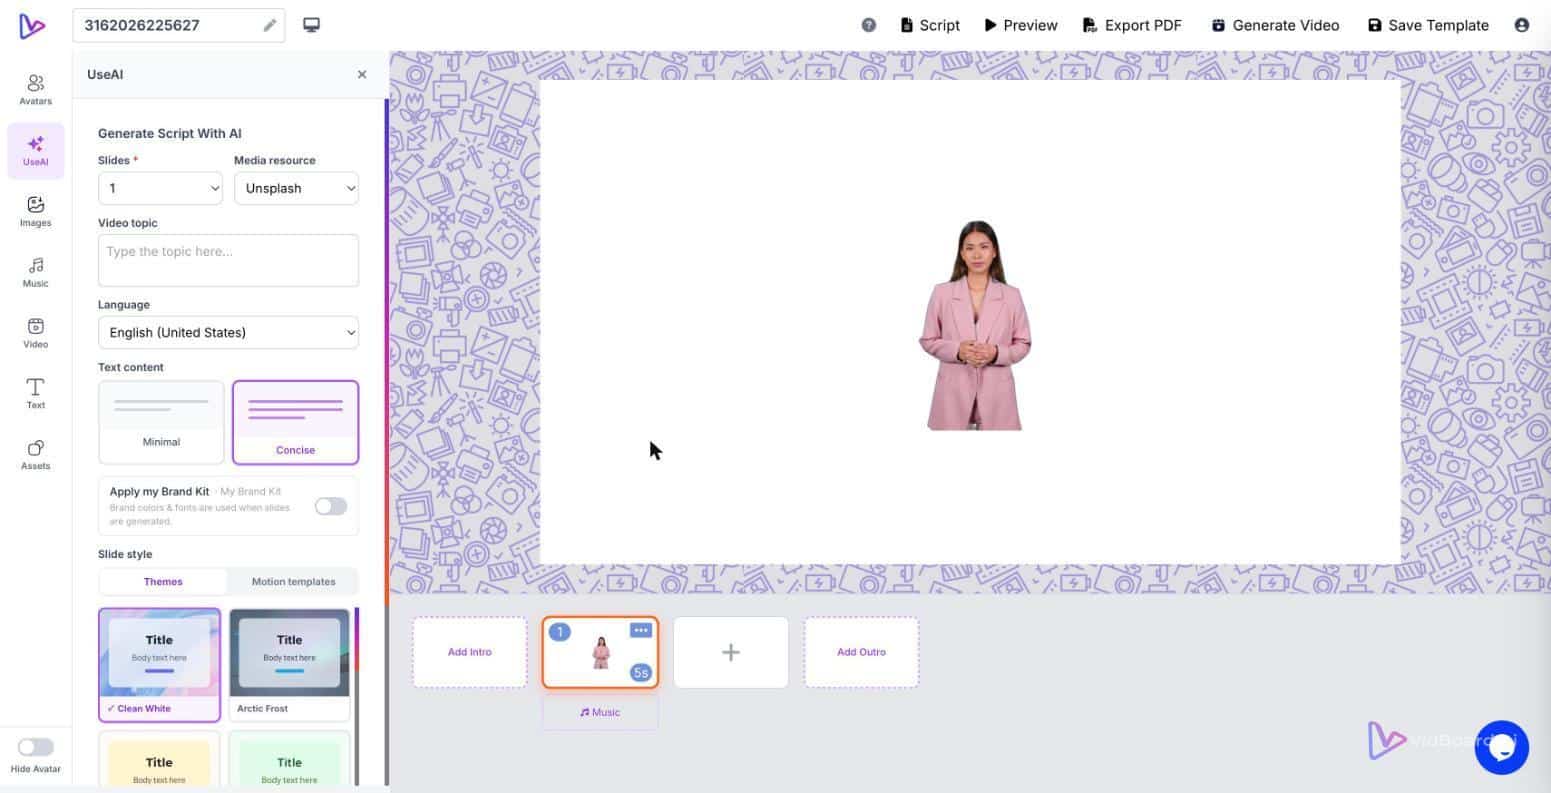
You have a 12-slide product deck, five annotated screenshots and a short feature brief. You want a walkthrough video that explains the user flow, shows product screens, and matches the company brand — and you want something you can repurpose as a vertical promo and a short social clip. Start from what you already have: the document, the deck or the screenshots. vidBoard turns that source material into an editable, narrated video inside the browser so you can iterate without booking a studio.
Start with the right inputs
Successful walkthroughs begin with a clear map of the information you already own. At minimum, gather:
- a deck or document that lays out the flow (features, setup steps, outcomes);
- a short script or bullet list of the user actions you want to show;
- screenshots, short screen recordings or links to the pages you will demo;
- brand assets: logo, colours and fonts.
Choose the matching vidBoard input for that material. Upload the PowerPoint or PDF and use PowerPoint → Video or Document → Video to preserve the original facts, slide structure and editable objects; paste a product page URL into Link → Video to extract text and images; or paste a script into Script / Text → Video to get a scene-by-scene draft. The platform reads your source content and keeps its real names and numbers rather than inventing details, so the generated draft is grounded in the exact material you provided.
Pick the format that fits the message, not the camera
Compare four practical formats and when to use each one:
- Slide + voice walkthrough — Use when you want a structured explanation tied to your existing deck. The editor keeps slide objects editable so you can refine copy, timing and motion without re-shooting.
- Screenshot or screen-record explainer — Best for demonstrating clicks and menus. Bring in your images or basic screen captures, remove backgrounds if needed, add callouts and per-object timing on the timeline so each UI element appears exactly when you mention it.
- Avatar- or voice-led presentation — Choose an AI voice, a cloned voice or an AI avatar when a presenter helps with clarity or brand recognition. Avatars are an option, not a requirement: vidBoard supports faceless explainers and silent visual outputs equally well.
- Silent visual or caption-first delivery — For social channels where people watch without sound, rely on subtitles, caption presets and word-level timing. vidBoard’s subtitle workflow supports roughly 99 languages and caption translation so the same video can be localised.
The point is not to mimic a studio shoot but to choose the format that communicates each step clearest. You can mix formats inside one project: a branded slide opener, a screen-record section, and a short avatar close.
Turn one walkthrough into a repeatable pipeline
Repeatability comes from standardising inputs and automating the conversion into video. A practical pipeline looks like this:
- Store brand assets in the Brand Kit so colours, fonts and logo are applied automatically to every generated project.
- Pick a template from the library (roughly 129 designs across landscape, portrait and square). The AI fills the template with your topic so you don’t start from a blank canvas.
- Generate a draft from your deck, document or link. The editor produces narrated scenes you can keep or edit; treat that draft as a first pass.
- Edit the canvas: adjust text, swap screenshots, set per-object timing, fine-tune motion and transitions. Use per-slide regenerate to re-run any one slide without rebuilding the whole project.
- Add narration: choose an AI voice, upload a recorded voiceover or use voice cloning for consistency across a series of walkthroughs.
- Add captions and translated subtitles; export the video as MP4 and produce vertical and square variants from the same project for multi-channel distribution.
Use the media tools to tidy assets before they hit the canvas: basic screen capture, background removal for images, and the standalone Audio or Video Suite when you need to trim or mix tracks. When the master is final, export to MP4 or publish directly to YouTube from the finished-video screen.
The source document becomes the editable master: update one slide or one line of script and regenerate, rather than rebooking a studio.
That workflow turns a single piece of documentation or a product deck into a repeatable production pattern: a master video, plus landscape, portrait and square variants, captions and localised dubs where required. Because everything remains editable in the browser, you keep control while scaling the output.